Friday 25 November 2011

My Student Artworks

My student artworks for the competition.
Great work from them, feel proud of my student~


My Art Board

We have different Themes on board every month.
Here's my design~
Keep good habit to make our class more freshy :)

 圣诞节 Merry Christmas

 每月之星 Star Of The Month

 爱的资讯 News

 祝福贴 Blessing

 我是棒小孩 Im a Good Kid

环境与文化 Environment and Culture


教书育人 Teaching and Educating


and this is our school hall design.


Tuesday 22 November 2011

The Garden of SJK(C) Pasir Pinji No.2, Ipoh, Perak.

This is the garden of SJK(C) Pasir Pinji No.2, Ipoh, Perak.
I made some cute stuff to decorate the mini garden of my school.
Creative idea make's our school's environment look more fresh and student be able to study well.

4 Themes of Garden

Sun Flower Theme

Decorated Flower Theme

Stones Theme

Mini Playground Theme

Monday 21 November 2011

How to make a Ribbon Hair Clip?

How to make a Ribbon Hair Clip?
DIY = Do It Yourself
Have Fun~
(CLICK the photo to ENLARGE)


How to make a paper Love shape

How to make a paper Love shape by using a piece of paper?
Let's go, it's just so easy way to make it =)

Material needed:
Paper
-size: 4cm x 4cm

Follow the steps from 1 to 9 above. And it'd DONE pretty much~

Friday 4 November 2011

How to make a Rose with Ribbon


  1. Begin with one long piece of ribbon or fabric (see first illustration). Make it about 8 inches long. If it is shorter, it is harder to work with, and if it is longer, there will be far more ribbon than is required for a rose. Although, it doesn’t matter in the end, because it is possible to make it out of as much or as little material as you would like, as long as you are patient and nimble at working with your hands.
  2. Note the color arrangements in the diagram above. For this tutorial the steps are illustrated in “paint” colors. They show each half as a different color: One as red, and one as aqua. These colors are just to assist the demonstration for this tutorial – your ribbon will be one color obviously.
  3. Hold the ribbon at a 90 degree angle so that it has a corner halfway through the ribbon (step one). Step one begins by folding the aqua half over the red half, and pulling it down horizontally.
  4. Do the same thing for step 2, except this time you fold the red half over the aqua half.
  5. Repeat this process in steps 3, 4, and 5. From now on, you will be pulling the aqua half vertically every time, and the red half horizontal every time. Continue folding vertical, then horizontal, vertical, and horizontal, over and over again until you run out of ribbon.
  6. Flip your ribbon the other way around, so that you are holding the two ends of the ribbon between your thumb and index finger. Don’t worry about letting go of the other end (the original middle of the ribbon) because it is folded into itself.
  7. Hold the two ends of the ribbon, and use your other hand (index finger and thumb again) to pull the bottom-most end of the ribbon out from underneath your thumb and index finger. Pull straight down. The speed at which you pull does not matter, because either way the rose will begin to take shape and you will not be able to pull any further after a certain point. There you go! You have a rose!


How to Make Paper Ribbon Flag

Material:
- Stick
- Colourful Paper

Here's are the steps:
Step 1: Place stick and paper with same position as the picture.
Step 2: Wrap the paper from the back to front.
Step 3: Again, wrap the paper and become a"L" shape.
Step 4: Repeat Step 2.
Step 5: Paper flip flap over the tuck.
Step 6: Pull the paper slightly tight.
Step 7: Snip a "V" shape and YOU'RE SUCCESS!
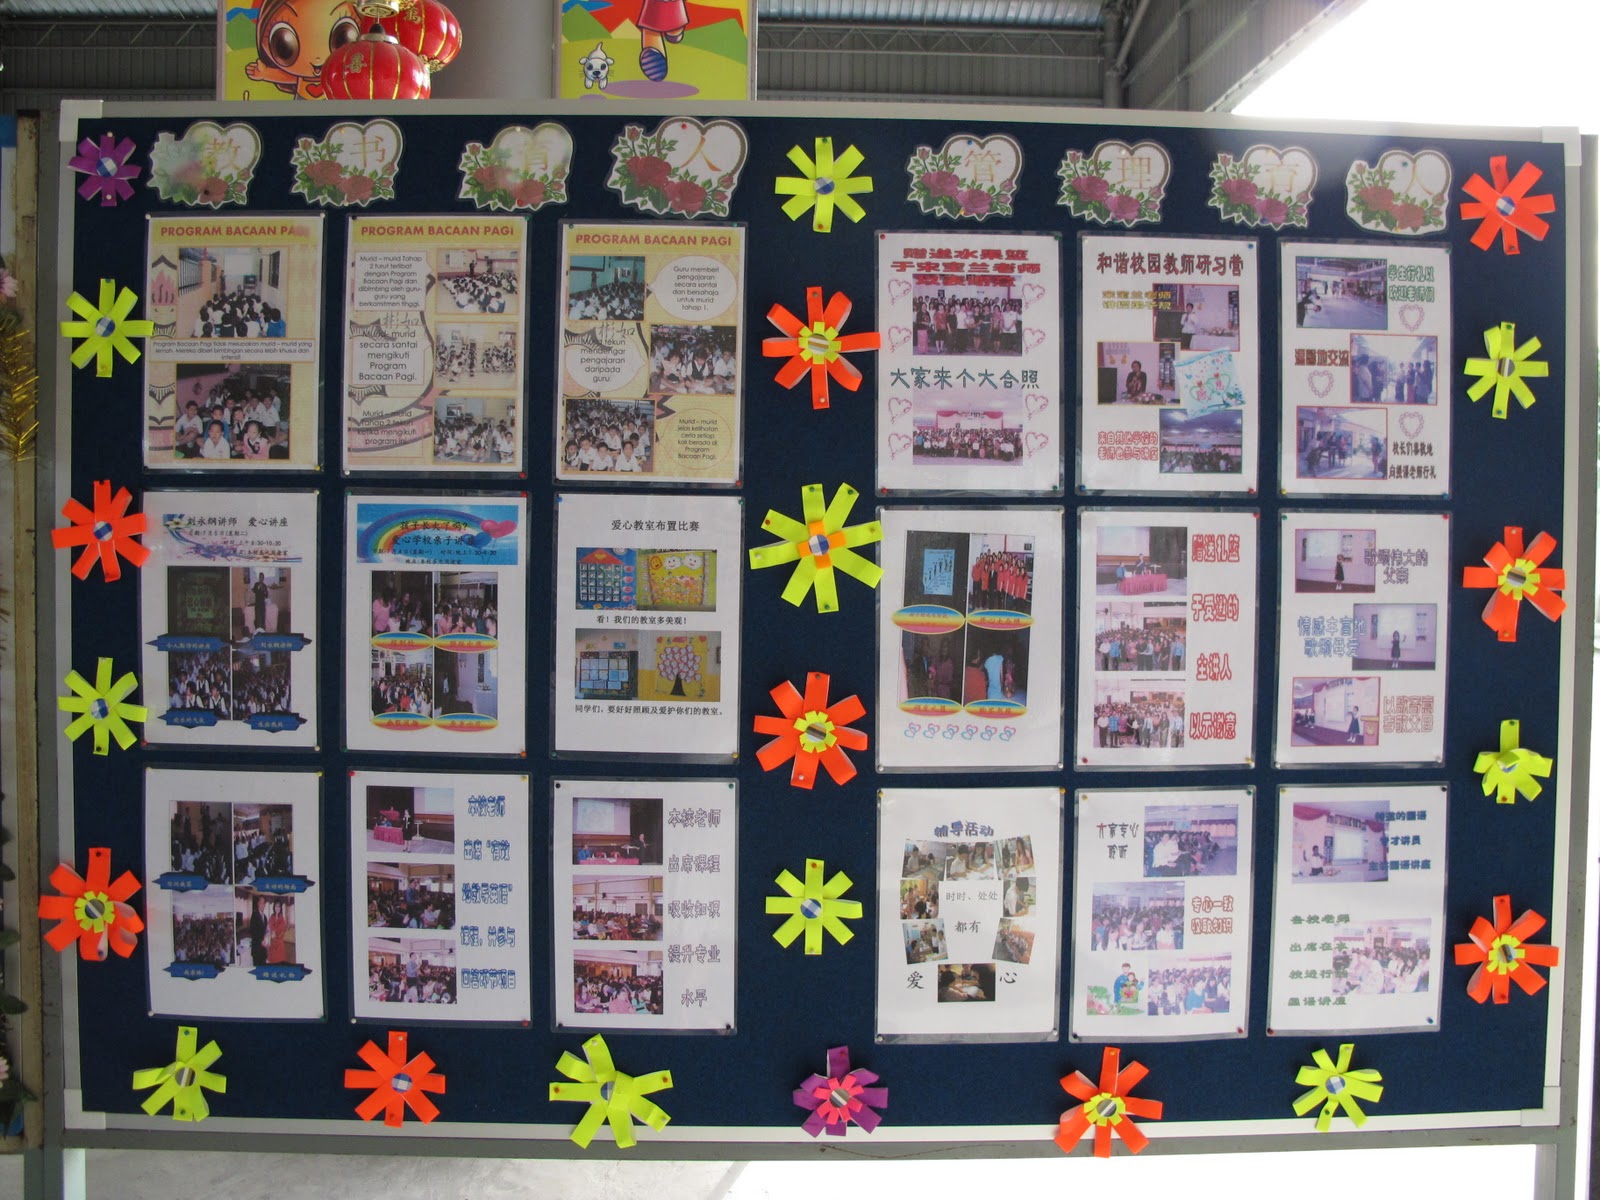

Result: